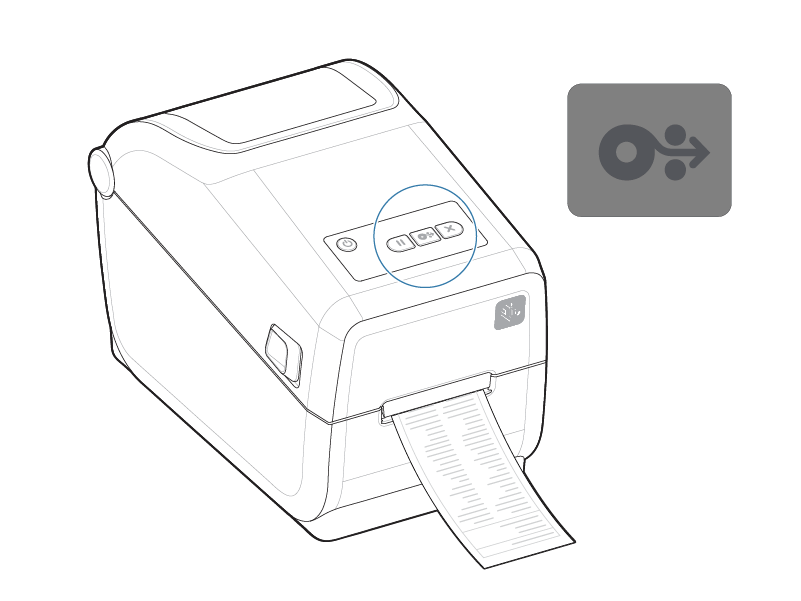
Steps to replace the printer label roll
If you’re currently receiving a Media Out status on your printer (as seen below), it’s likely that you need to replace your printer label roll. Please follow the steps below to resolve this issue.
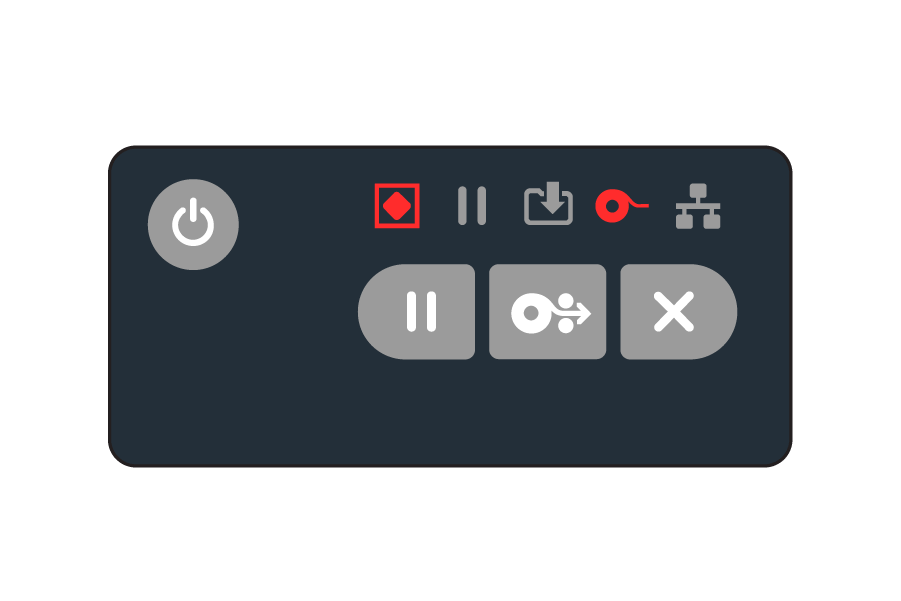
-
Open the printer
Lift the printer lid by pulling up on the yellow release latches on both sides until the cover clicks open.
-
Remove the old label roll
Spread the roll holders open and lift the roll core out of the printer.
-
Insert the new roll
-
Pull the yellow media guides apart.
-
Place the roll between the guides and let the roll rest on the media holders.
-
Adjust the guides so they touch both edges of the label roll.

-
-
Feed the labels forward
Pull the leading edge of the labels forward through the media path until a few inches stick out of the front of the printer.
-
Flip the labels up
Flip the labels up to access the sensor underneath

-
Align the media sensor
Make sure the movable media sensor is centred with the alignment key
-
Close the printer
Push the top cover down until it clicks and locks into place. - Calibrate the new labels
Press the button once to advance the labels.