
Video on how to replace the thermal ribbon
Steps to replace the thermal ribbon
-
Open the printer
Pull up on the yellow latches on both sides of the printer to open the top cover.
-
Remove the old ribbon
-
If there’s an empty ribbon take-up roll, remove it from the front (top) spindle.
-
Remove the partially used or empty supply roll from the back spindle.

-
-
Prepare the new ribbon roll
-
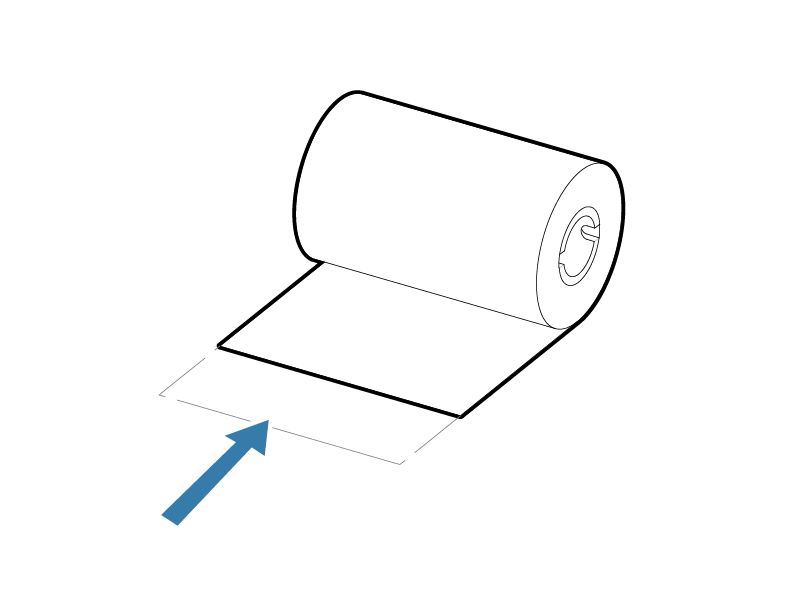
The new ribbon roll goes on the back (lower) spindle.
-
Make sure the ribbon unwinds from the bottom of the roll, facing forward.
-
You’ll also need an empty take-up roll for the front spindle (you can reuse the empty core from the last roll).
-
-
Load the ribbon supply roll
-
Insert the new ribbon roll onto the back yellow spindle.
-
Push it into place so it spins freely.
-
-
Attach the ribbon to the take-up roll
-
Pull the ribbon forward over the printhead area.
-
Wrap it a few times around the front (top) take-up roll.
-
Place the take-up roll onto the front yellow spindle.
-
-
Tighten the ribbon
Spin the take-up roll manually to remove slack and ensure the ribbon is smooth and aligned.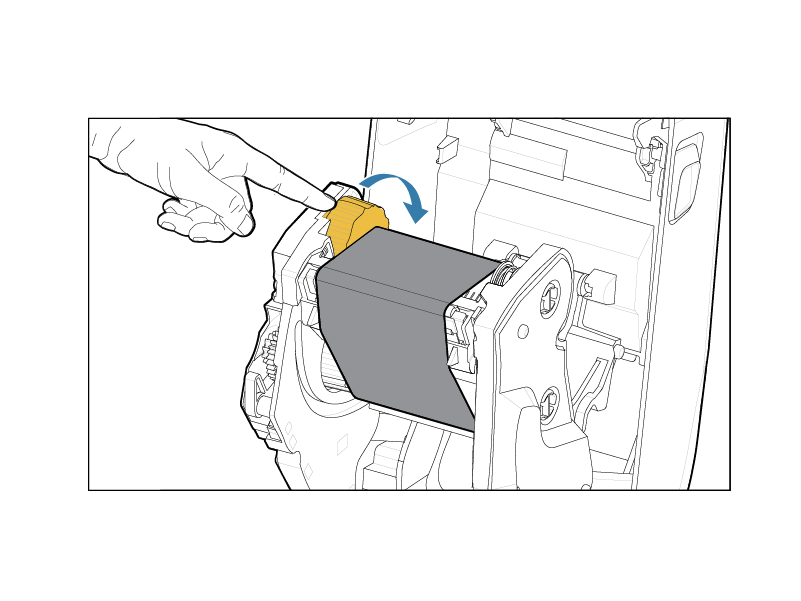
-
Close the printer
Push the top cover down until it clicks shut. -
Test and calibrate (optional)
-
Press the Feed button once or print a test label.
-
If the ribbon isn’t feeding correctly or the print quality is poor, recheck the tension and ribbon path.
-